.png)
Creating a Quote With P2Lite
About P2Lite
P2Lite is a streamlined quoting system built specifically for Managed Service Providers (MSPs) who want more control and flexibility in their sales process. Designed to eliminate delays and simplify quote creation, P2lite empowers MSPs to build fully customized quotes for their customers on their own terms. With intuitive tools for selecting products, adjusting pricing, and personalizing the quote layout, P2lite puts the power of quoting back in your hands without the need to wait on a sales rep.
Step 1: Sign in to the Wiretap Portal
Navigate to Wiretap Portal and sign in using your account login credentials.
Step 2: Access the P2Lite Console
From the Wiretap portal home page, select “P2Lite Quotes” from the column on the left:
.png)
Step 3: Create a Quote:
Select the “Create New Quote” button in the top right corner:

Fill out the Lead Information.
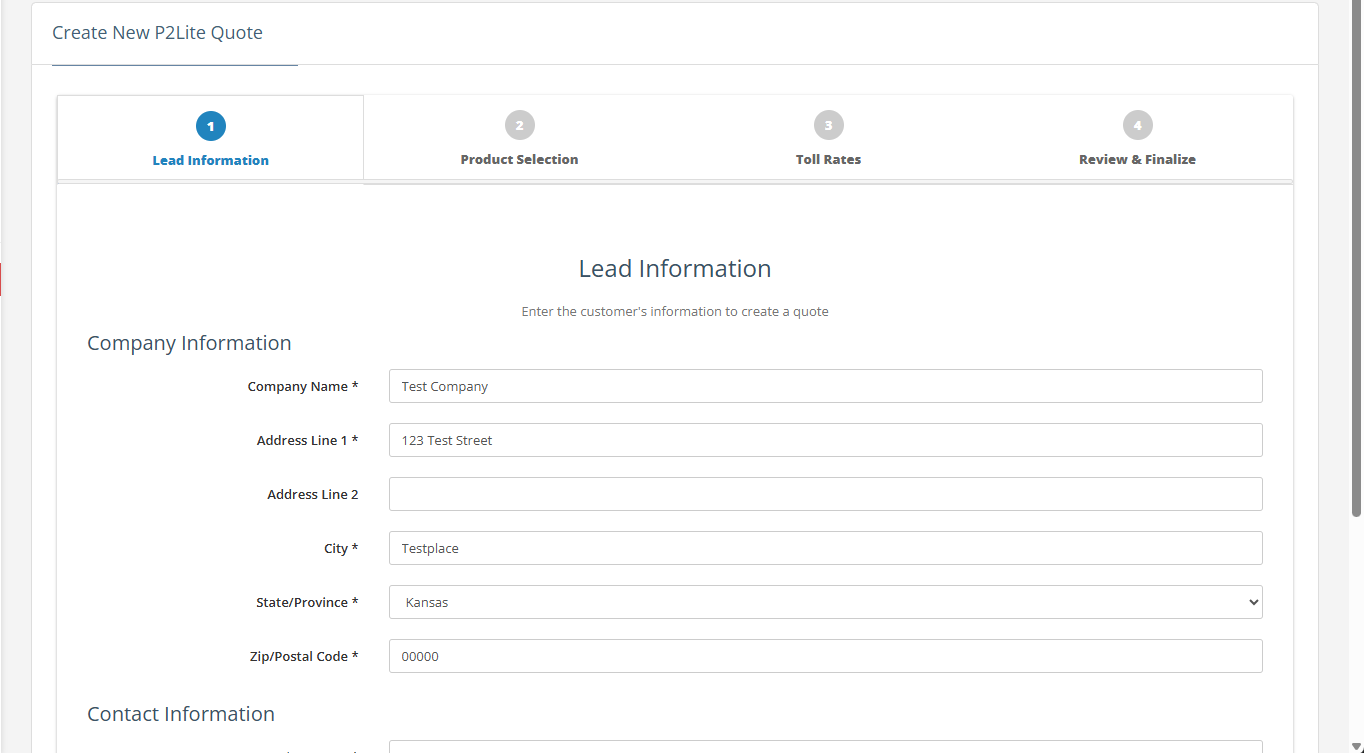
Company Information: Include the name and address of the company you're creating the quote for.
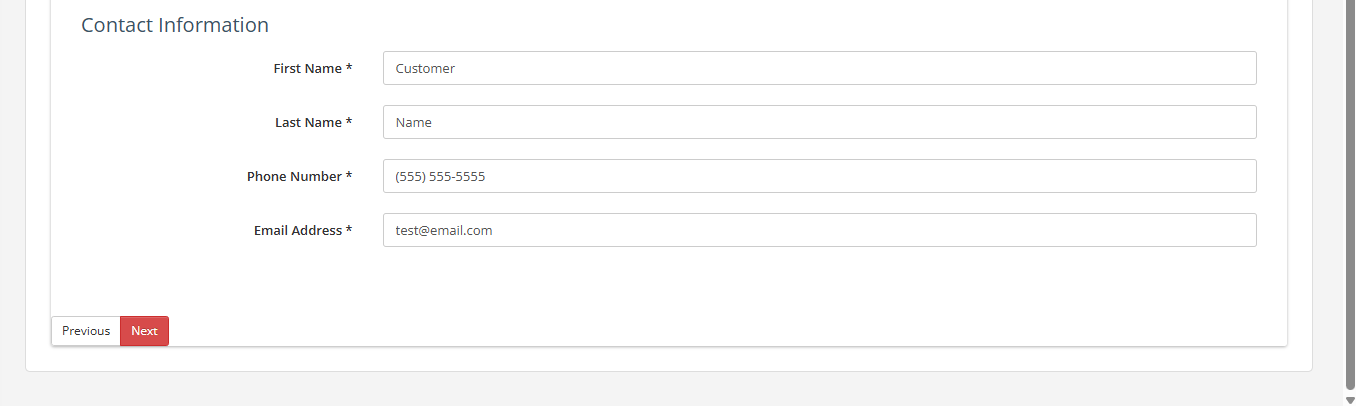
Contact Information: Add the name and contact info for the person who will review and approve the quote.
Step 4: Add Products to Quote
Product Selection: Add products to the quote. Prices will default to standard rates and can be adjusted as needed.
Add a trunking product:
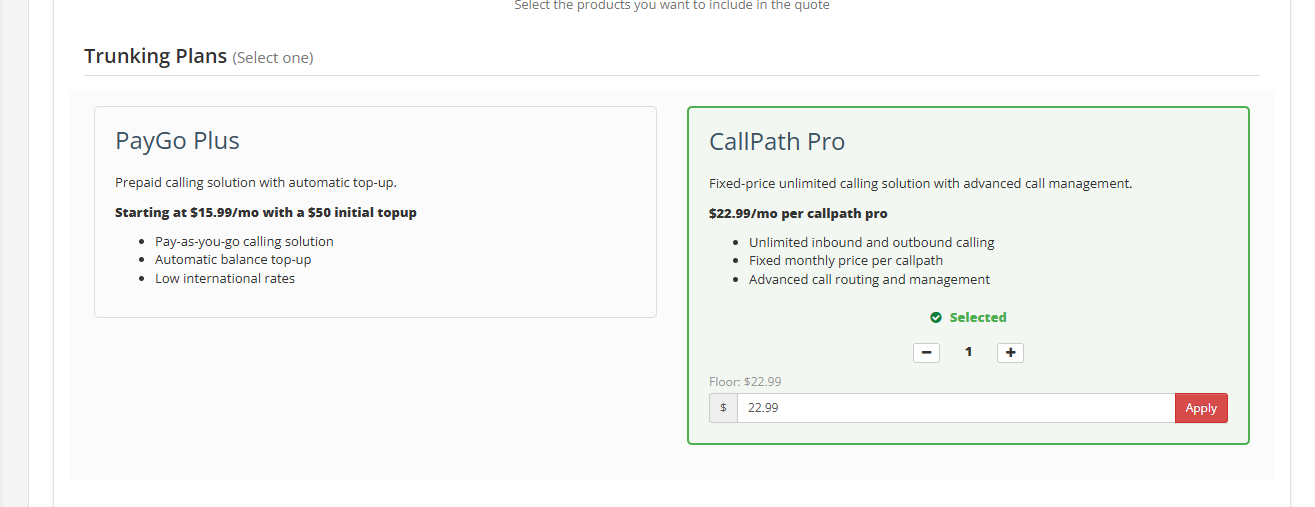
Adjust Price (Optional): Modify the product price if a custom rate is needed.
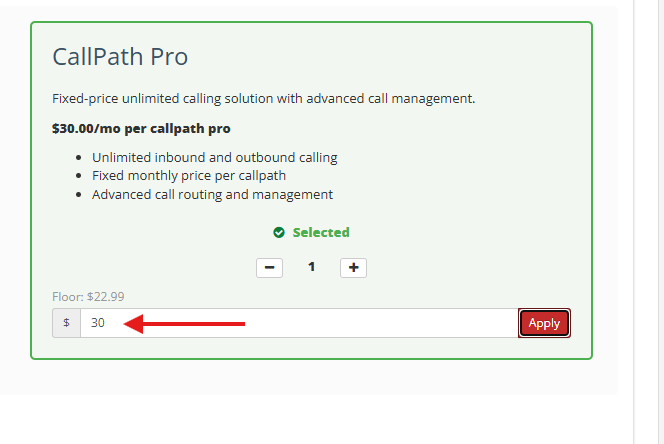
The floor price remains visible
You cannot set the price lower than the floor price!
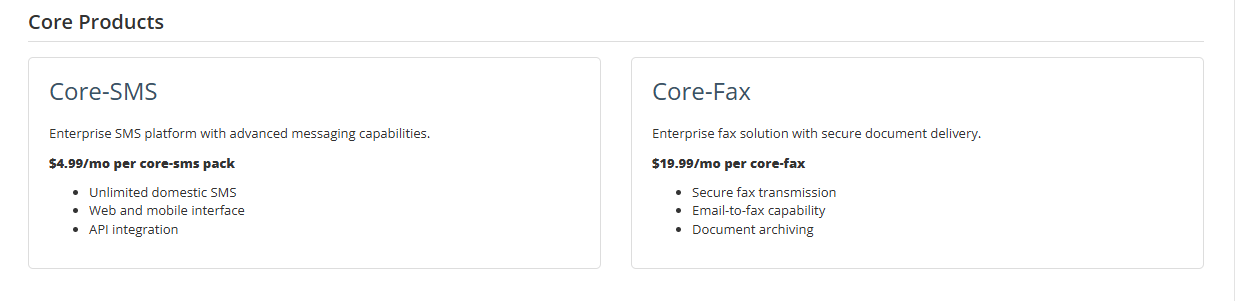
Add Core Products:
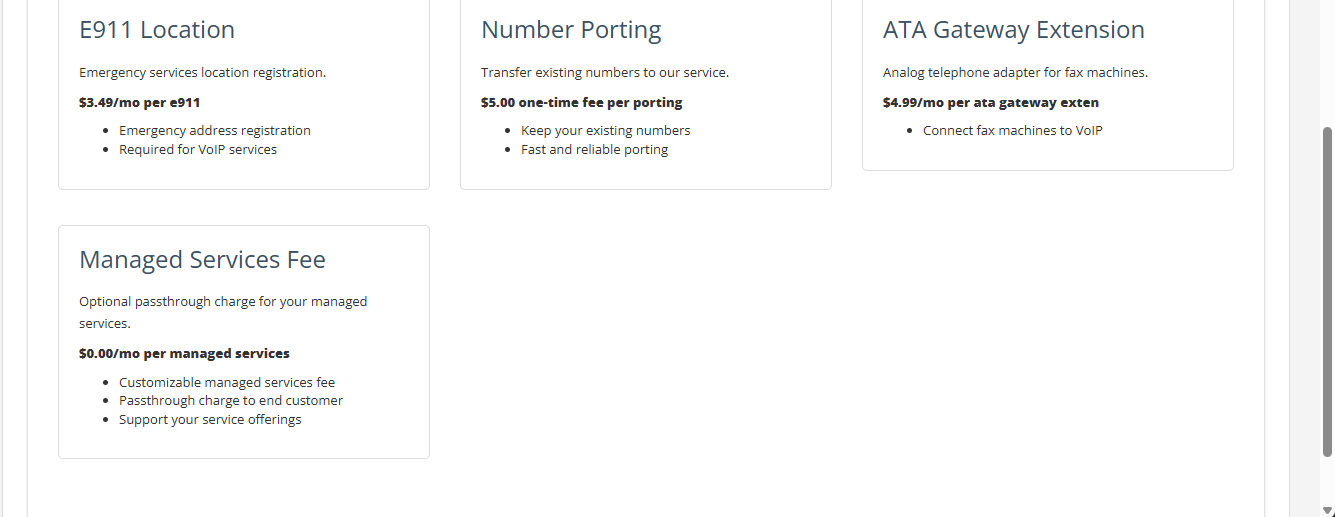
4. Add Other Products:
Step 5: Adjust Toll Rates
Pick your toll rates here. You can change the pricing, but it can’t go lower than the minimum allowed (floor price).

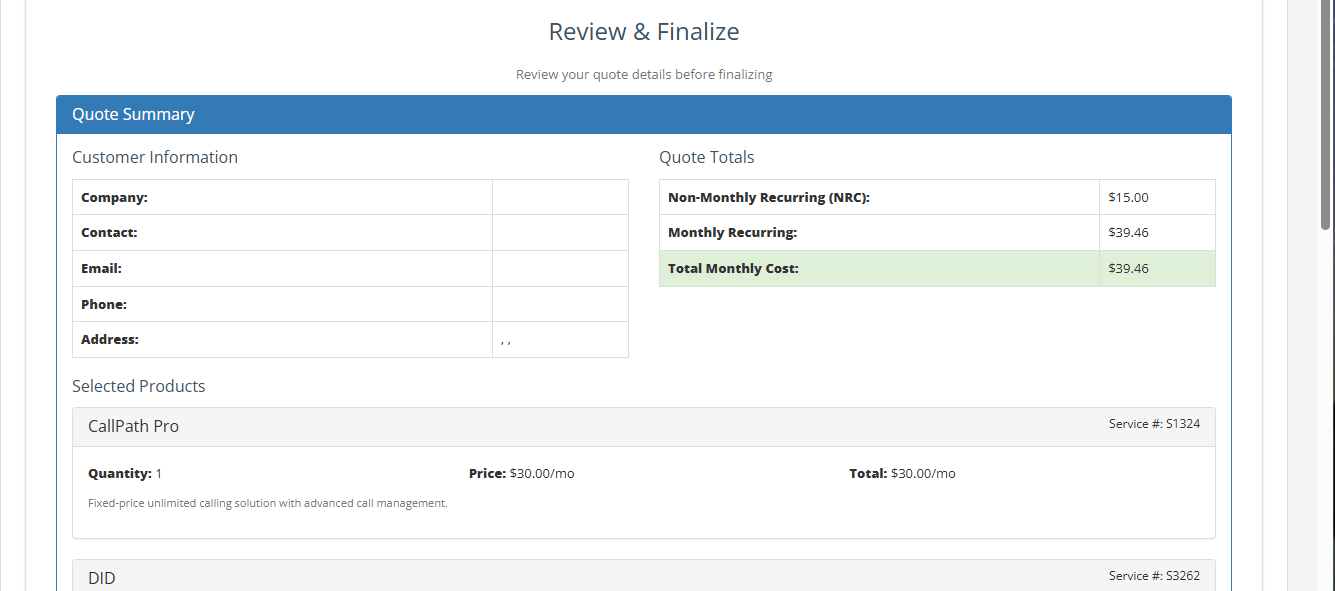
Step 6: Review and Finalize
Carefully review the quote to ensure all customer information and pricing are correct before final submission:
Add comments and additional info:
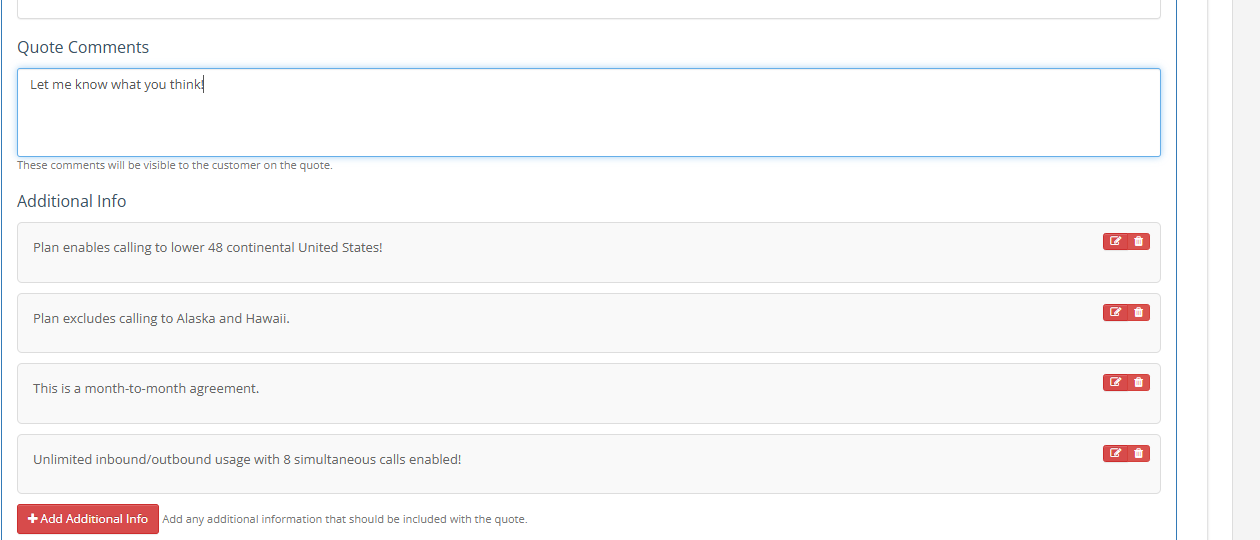
Select Save.
Your quote is now in draft mode, ready to publish!
Step 6: Publish and Send!
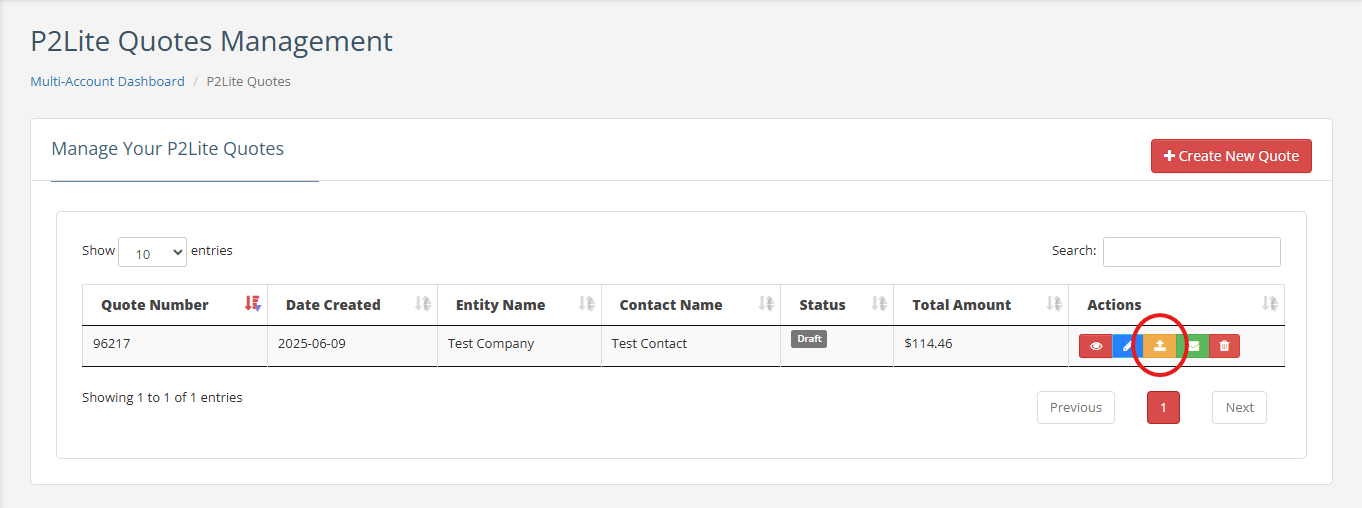
You’ll be brought back to the P2Lite Quotes Management page. From here you can view, edit, publish, e-mail or delete your quote:

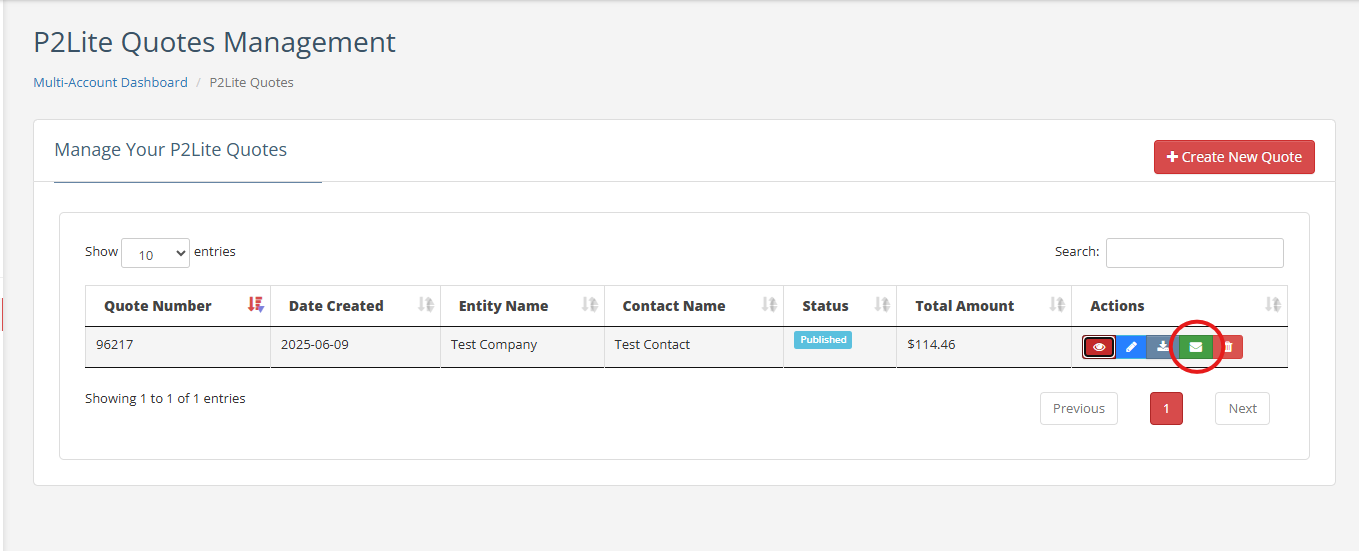
Heads up: You’ll need to publish the quote before you can send it.
Select the green envelope to e-mail the quote to your customer for approval.
Step 7: Wait for Approval
Once the customer approves the quote, the account will be automatically created. After KYC (Know Your Customer) verification is completed, your designated company contact will receive access to the new account.